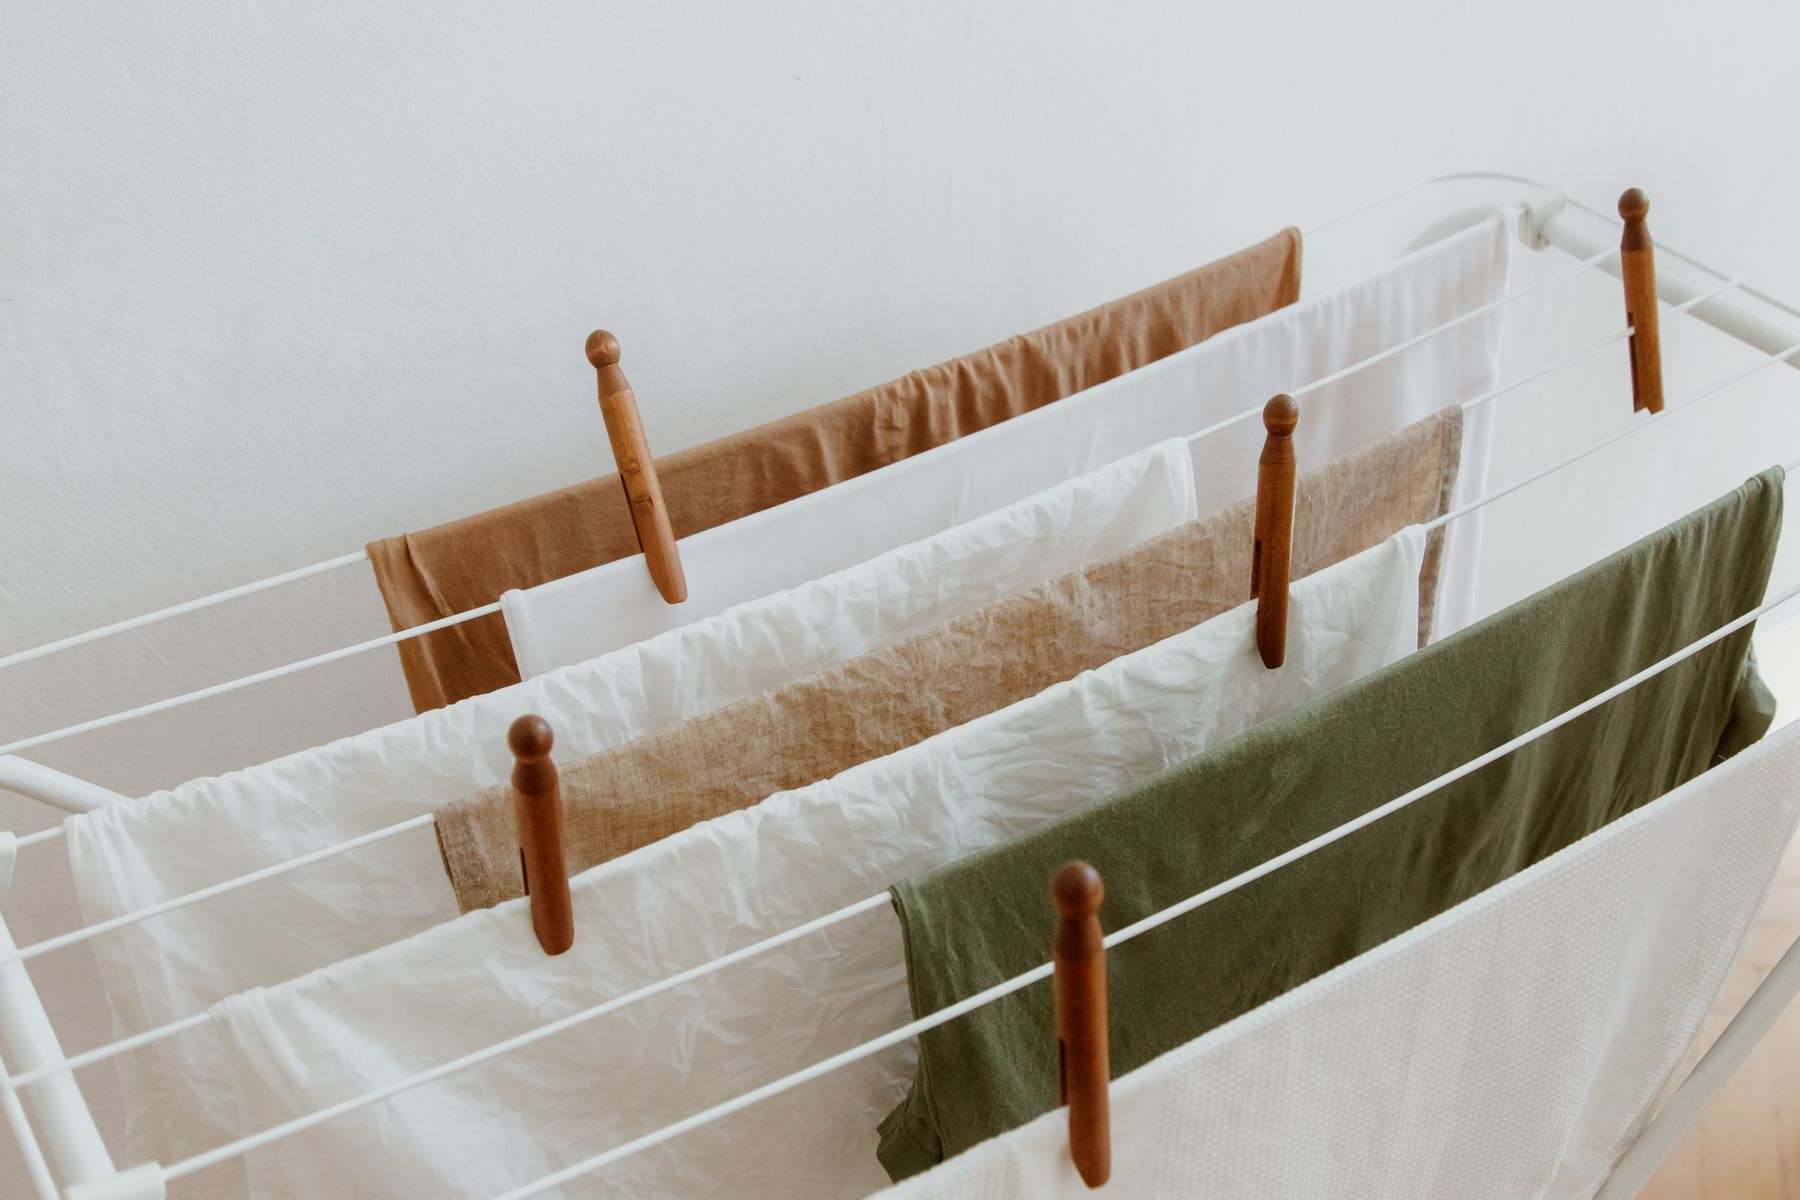
Every wet wash releases its water into the home. Indoor drying is not automatically a problem; trouble begins when a large load sits in a small sealed room with nowhere for moisture to go. Connect the care label, safe water extraction, airflow, and humidity checks into one routine. Follow garment, appliance, and building instructions. If mould already exists, or someone has severe asthma or allergies, address the moisture source with appropriate professional help.
Start with the care label, not the fastest setting
Separate garments that cannot take a strong spin, need flat drying, or specify another method. Towels, shirts, and wool do not tolerate identical treatment. If a symbol is unclear, choose the gentler option and consult the maker. Removing more water is useful only when it does not stretch the garment or harm its fibres.
Remove as much water as is safely possible
Use an extra spin only when labels, load balance, and the washer manual allow it. ADEME recommends good mechanical extraction for non-delicate items because less retained water means less moisture released indoors and a shorter drying time. Unload promptly, untangle and shake pieces, and open sleeves and pockets. Press or reshape wool and delicate garments as directed instead of forcing a high spin.
Choose a room that can release moisture
Prefer a large well-ventilated room or one with a working extractor vented outdoors; ADEME’s indoor-drying study recommends those settings. Avoid making a sealed bedroom or wardrobe the default, and never block a door, corridor, or escape route. Protect the floor and keep the rack away from curtains and sockets. Never drape laundry over a portable heater or beside a flame; London Fire Brigade says heaters should not be used to dry clothes.
Build air lanes between garments
Where possible, use one rail per layer instead of folding wet layers together. Put towels and jeans on exposed outer rails, turn pockets out, open zips, and space shirts on hangers only if the rack stays stable. Do not exceed its stated load or let fabric rest against a wall. Gaps let moist air move away and keep wet cloth off cold surfaces.
Ventilate for today’s conditions, not by habit
When outdoor humidity, temperature, and air quality permit, create a short cross-flow or combine an opening with an extractor that vents outdoors. Gulf dust and heat, coastal humidity, East Asian rainy seasons, or damp European winters can make outside air the wrong tool. Use air-conditioning, dry mode, or a dehumidifier only as its manual permits, while moving air around the rack. A fan speeds surface evaporation but does not remove water from the home by itself.
Watch the trend rather than worshipping one number
If you have a hygrometer, note the room before hanging and about an hour later. Look for a continuing rise or water on glass and walls. EPA generally recommends 30–50% relative humidity and below 60%, while ADEME gives 40–60% for homes; local climate and building guidance take priority. A persistent rise near the relevant upper limit, or visible condensation, means increase ventilation or dehumidification and reduce the next load. Keep the meter away from wet fabric and air outlets.
Rotate thick items and never store them half-dry
After several hours, move heavy towels or trousers, open folds, and feel seams, waistbands, collars, and pocket corners. Do not trust only the outer surface or a fixed drying time; fabric, temperature, and load size change the result. Remove fully dry pieces and never compress cool, slightly damp laundry into a closed wardrobe.
Treat condensation and musty odour as warnings
If glass becomes wet, the room smells musty, or a wall stays damp, stop adding loads, dry the surface, and increase real ventilation or moisture removal. CDC emphasises controlling moisture and fixing its source to prevent mould. If growth is extensive, returns, may involve HVAC, or a resident has respiratory vulnerability, do not cover it with fragrance or paint: contact the landlord, building manager, health service, or a qualified professional.
Indoor drying is a water-removal route, not just a rack location
Spin safely, leave gaps, choose a room that can release moisture, and track the trend. When water cannot leave the home, reduce the load, change the timing, or use suitable dehumidification instead of applying direct heat to clothes.
Official sources and last verification
Checked 17 August 2026. Suitable ranges vary with climate and building systems; product, building, and local health guidance take priority.
Affiliate link · Amazon.sa
Two optional tools, only if they solve a real constraint
Buy nothing if you already have a stable rack and reliable ventilation. These links imply no verified price or availability; check dimensions and instructions.
As an Amazon Associate I earn from qualifying purchases.
Folding indoor drying rack
Look for a stable base, useful spacing, and a stated load that fits your laundry without blocking walkways. Measure open and storage space first.
Browse general options on Amazon.saDigital room hygrometer
It can compare humidity before and during drying. Keep it away from direct wetness and follow placement or calibration instructions.
Browse hygrometers on Amazon.sa